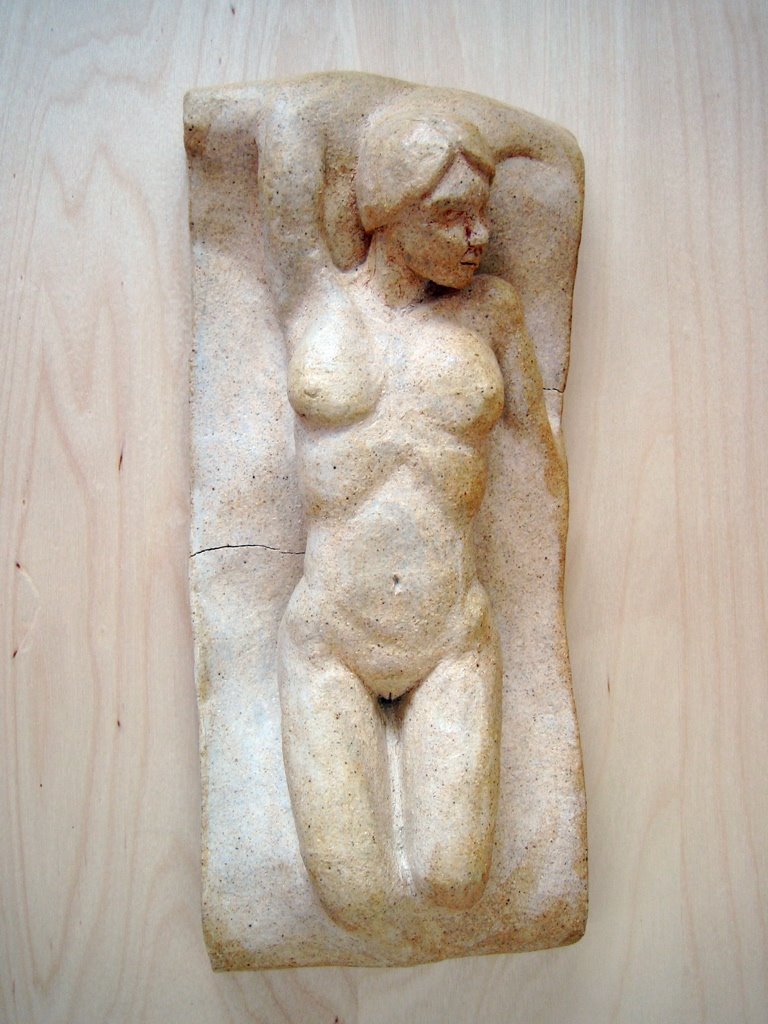
This is the big project. Over the years of taking this coarse there have been several people who have consistently been there. One of them, Gill, always works big. Very big. To heavy to lift big. For a sense of scale his sculptures are topically life size in proportion. By comparison I topically work in a range of 1 to 1.5 feet in length for a full body. This means Gill rarely does the full pose. He usually concentrates on the torso.
I've always admired his work, and decided early in the year I wanted to try doing a pose really big. In the Winter session an opportunity presented itself with a perfect reclining pose. So I grabbed the biggest board I could, a large chunk of Styrofoam to help keep the weight down, a pile of clay, and lots of encouragement from the teacher and tech, and went big.
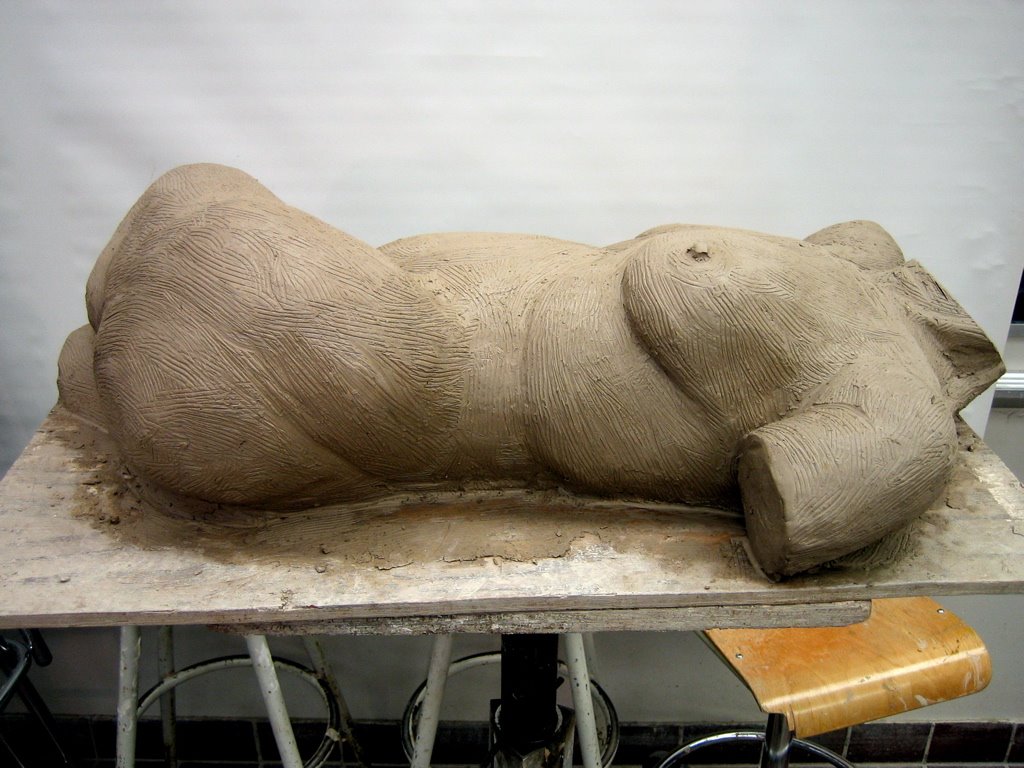
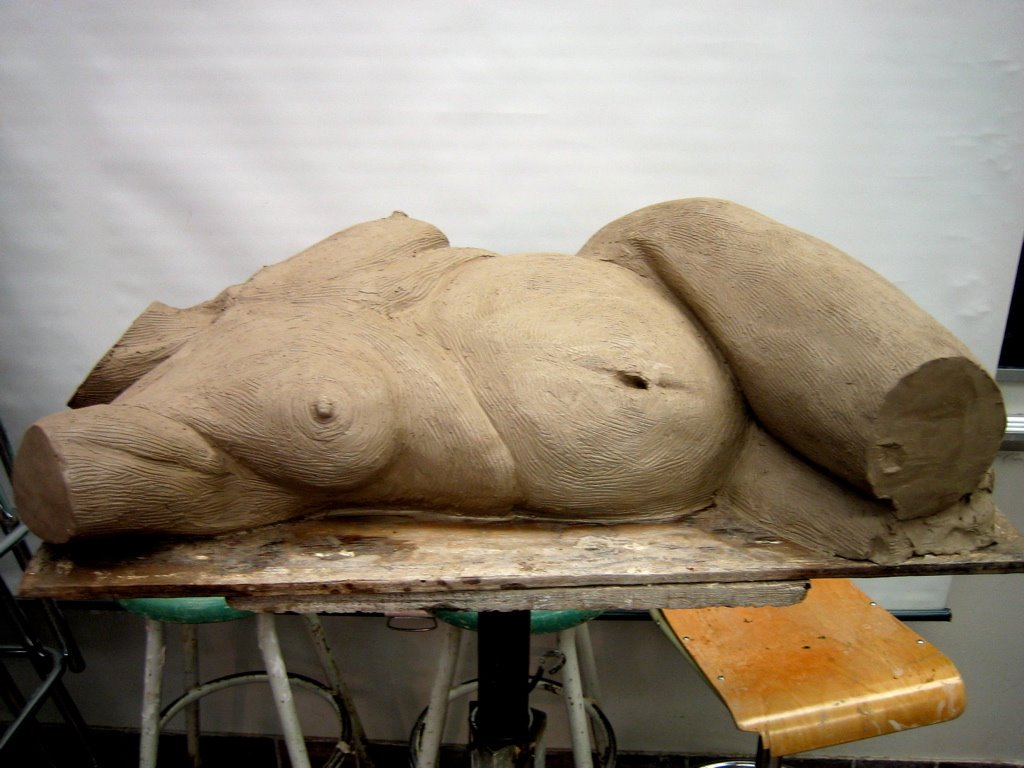
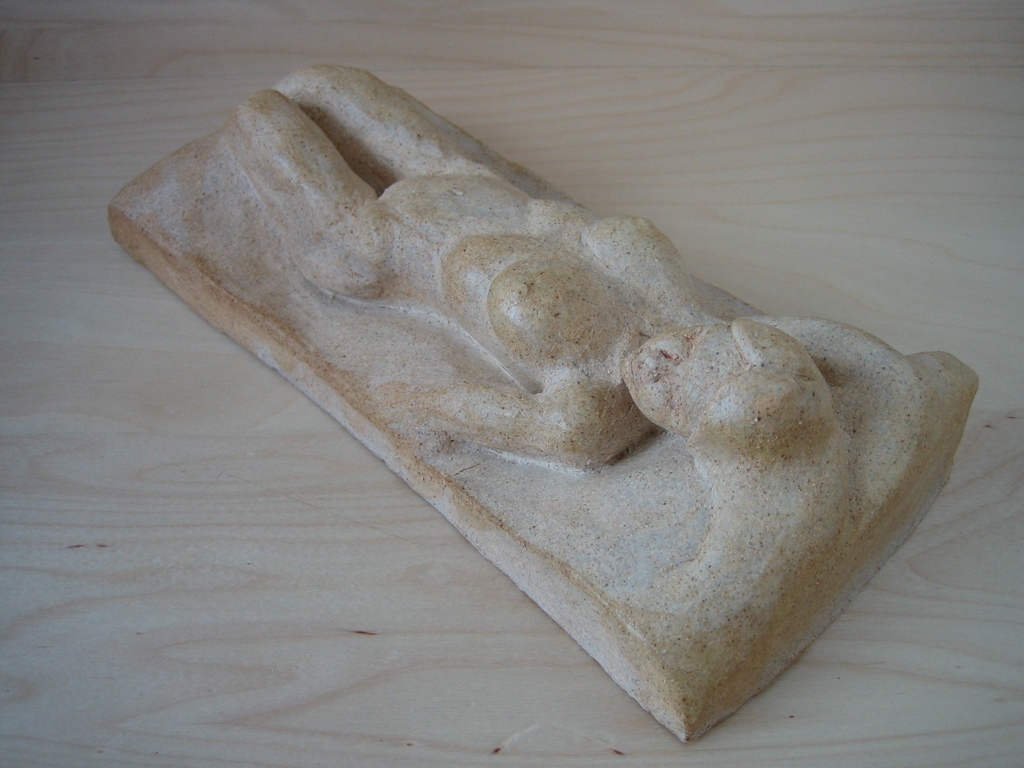
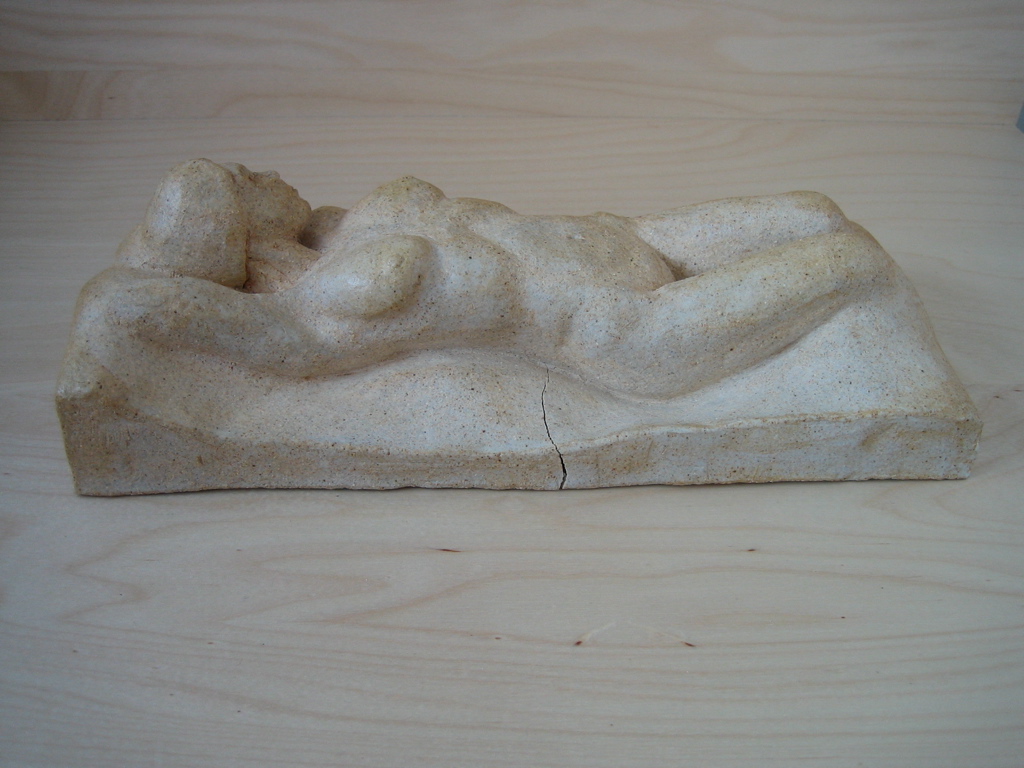
This sculpture is big, like Gills work. Unlike Gill I tend to be more realistic where he tends to abstract his works. The sculpture is about 80-90 percent life size to the model.
These pictures of the piece are after 3 classes with the model and 1 class of cleaning up. If you look at them in detail you will see the clay is covered in tool marks. This is from me working the surfaces to get the forms just right.
Ultimately I wanted the surfaces to be very smooth. The process of doing this takes a lot of time. It involves working the surface with a fine toothed saw blade and a sponge. Gradually working out all the tool marks and smoothing out the surface. This took another 2 or 3 classes.
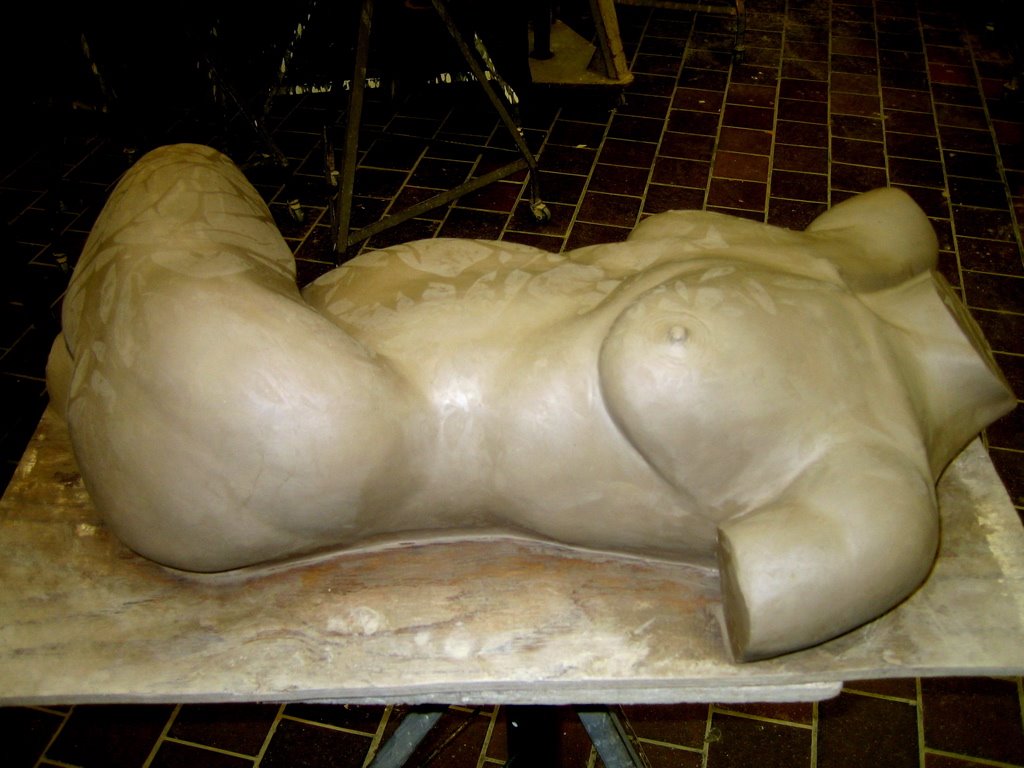
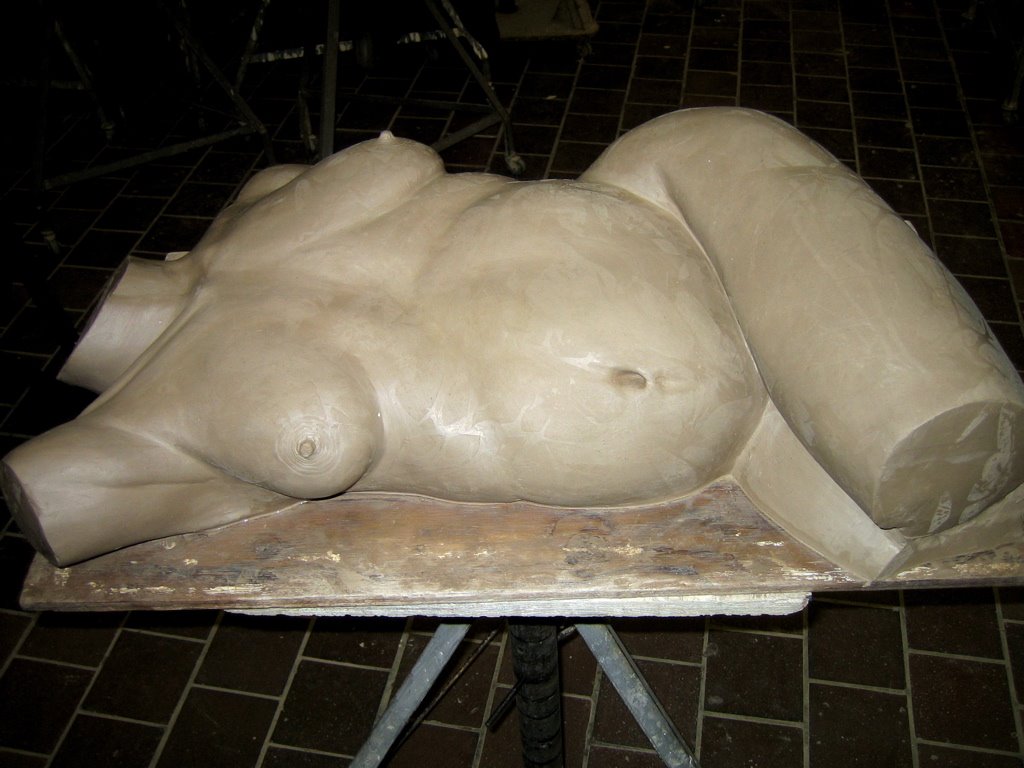
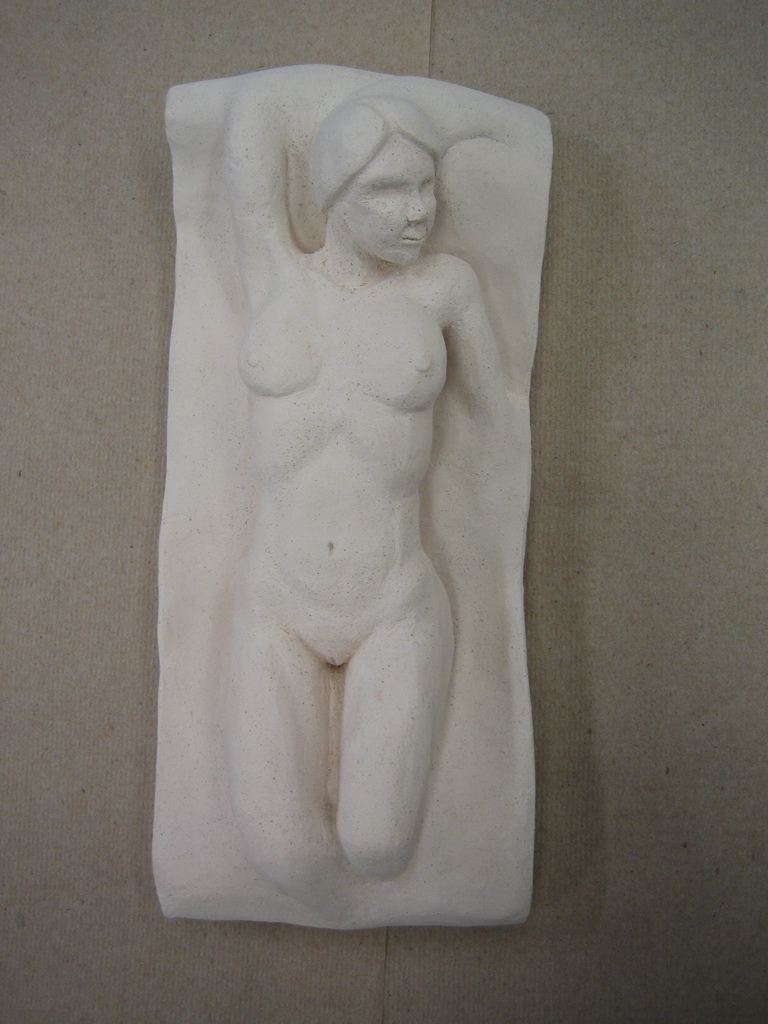
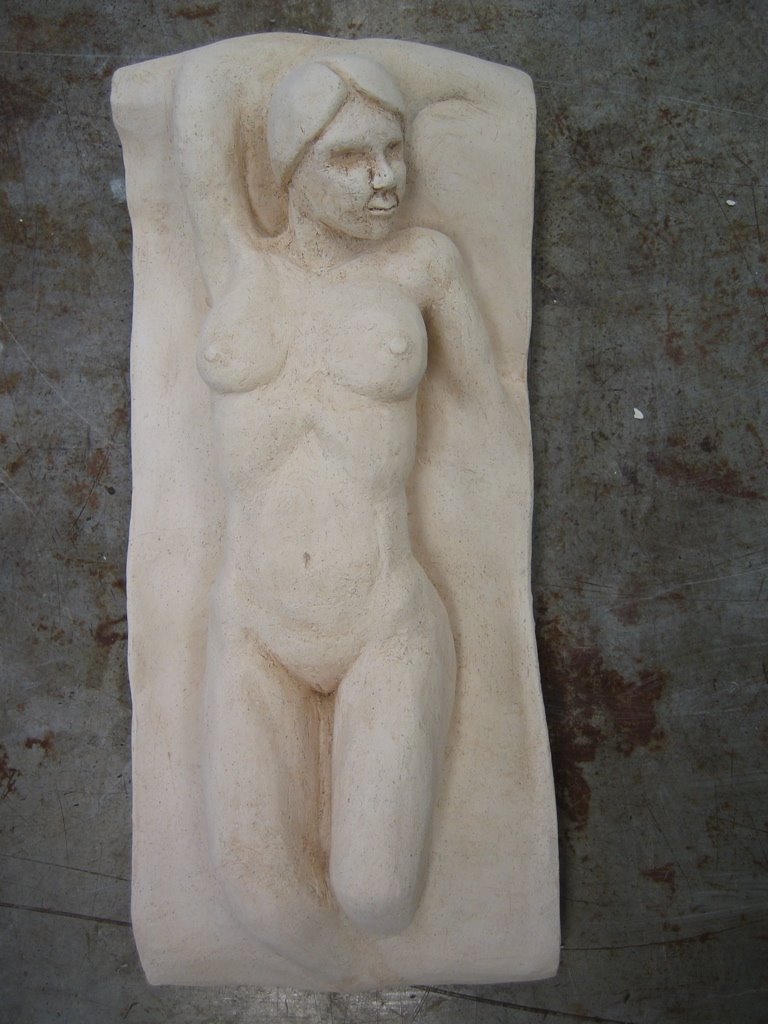
These pictures are of the sculpture at the start of the last class I worked on the sculpture. It is fresh out the garbage bags we use to keep the clay from drying out between classes. The next week I started casting it. Almost all of that last class I spent working on the nipples. If you look closely here the nipples are surrounded by a swirl of tool marks. While this look often works, it doesn't work with when the rest of the sculpture is so realistic.
So that class I spent consulting with the teacher and the model that was posing in a different pose at that point, trying to figure out how to make the nipples look more realistic. I settled on a process of adding tiny bumps around the nipple and blending them in. This was a long and slow process but it yielded much better results then what is pictured above.
The other major difference is the rib cage and the clavicle bones have been toned down. The day school teacher dropped in one day, and I know him well from when he used to teach night school, and made a couple of simple comments. He is like that. You don't get praise from him. You do get excellent pointed criticism. Which is exactly the kind of thing you need when learning. He simply pointed out how harsh the lines of the ribs and clavicle were compared to the softness of the rest of the piece. He then left it to me to do what, if anything, I wanted to address it. This is the kind of thing you need when working on something of this nature. You're so close to it it's hard to see it as a whole. Once he mentioned it, I could see exactly what he was saying. So I took steps to soften these lines, and I think it helped a lot.
The next step in this piece is casting it. Unusually I have pictures of some of that process. However I will wait for another post to continue the description.