Saturday, November 25, 2006

Element: 3 Years of Fill-ups

I've now had the Element almost 3 years so I decided to it was time to analyze all the fill-up data I've collected over the years. Every time I get gas I fill the tank, then I record the date, odometer, volume of gas, and amount spent.

So I just took all this information and plug it into a trusty spread sheet and generated some cool graphs and some useless one.

The overall data:
Total Spent on Gas: $2774.37
Total Litres purchased: 3332.845L
Average price of Gas: 83.24 Cents/L
Average Fuel Economy: 10.45 L/100km
Average Fuel Economy: 22.50 Miles/Gallon

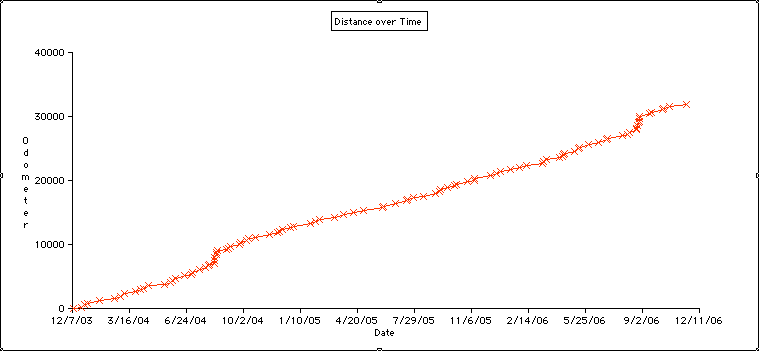
Now for some pretty graphs. The first one is the odometer reading over time. Obviously this one will always go up. What's interesting is that the amount of driving I do is fairly constant as shown by the slope of the graph, except for 2 humps. These hump just happen to be the times I drove to Brickfest in Washington D.C.
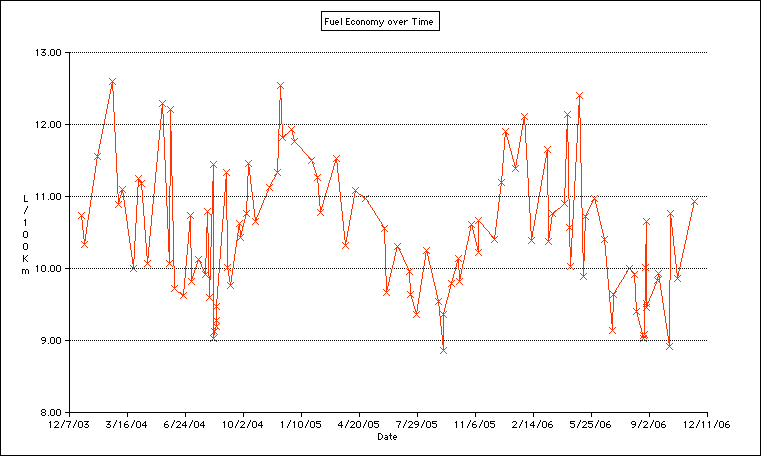
The next graph is fuel economy. This one varies a lot. This is mostly do to driving habits. After some fill-up I'll do lots of highway driving, and after others it will be more city. But I do find it interesting that there appears to be an annual cycle forming. Overall fuel economy appears to be better through the summer and into the fall, the through the winter and spring.

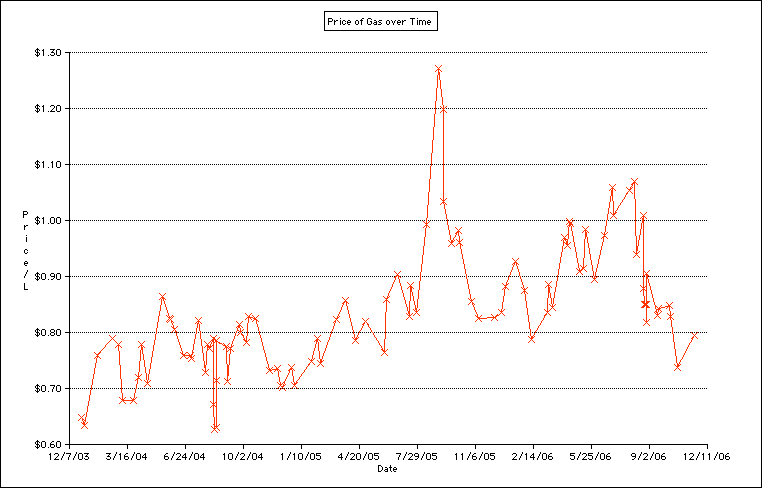
This graph is the price of gas over time. It has nothing to do with my vehicle other then you can see how bad the price of gas was at the end of last summer.

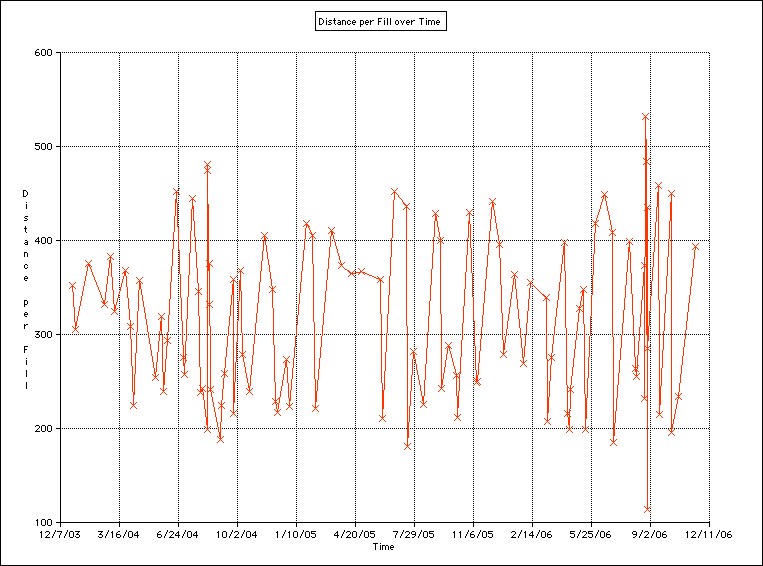
No we get into some silly graphs, like how much gas I put in per fill up. Hmm, just over 2oo km is the minimum, I wonder why that is. I seem to do a lot of driving to somewhere 200km away, fill-up, then turn around and come back.

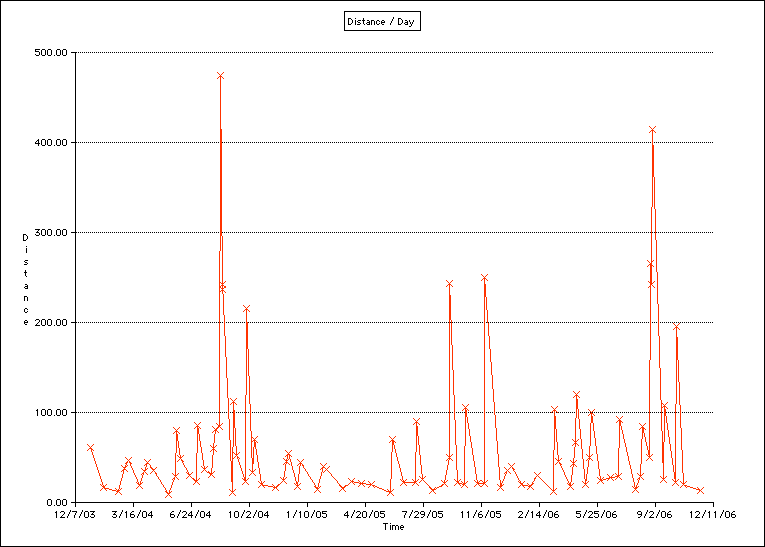
Finally another mostly useless graph. This one shows the average number of kilometres I travel per day for each fill up. The two large spikes are the trips to Brickfest. The next size spikes are most likely quick turnaround trips to that place 200km away.
Sunday, November 19, 2006

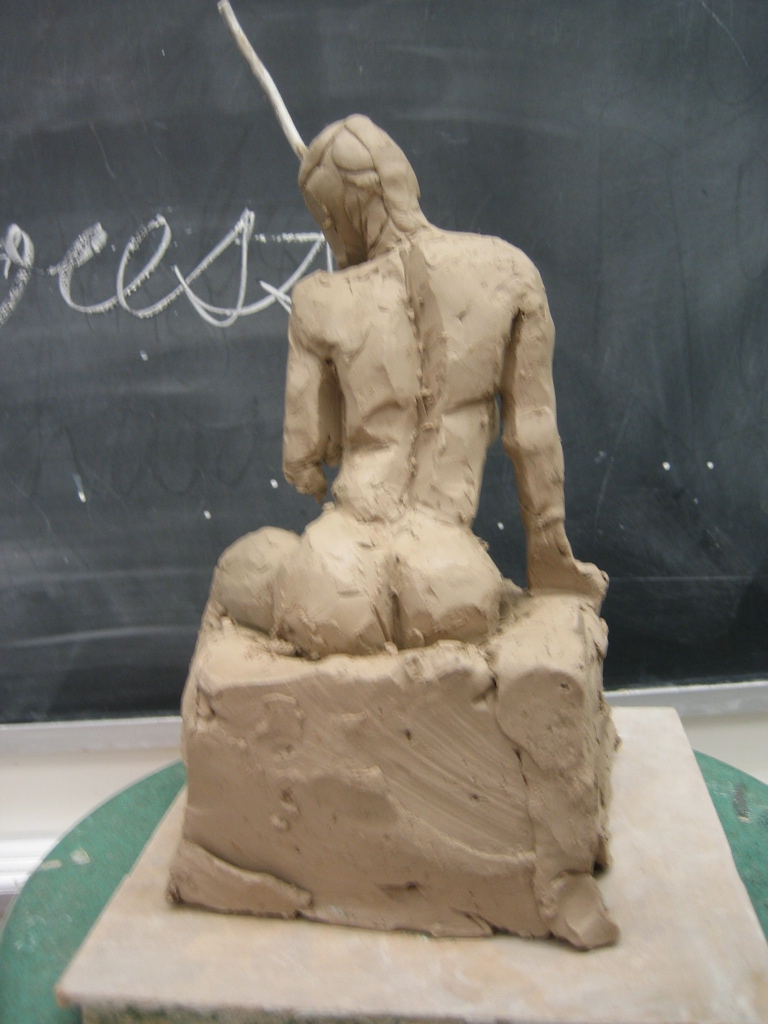
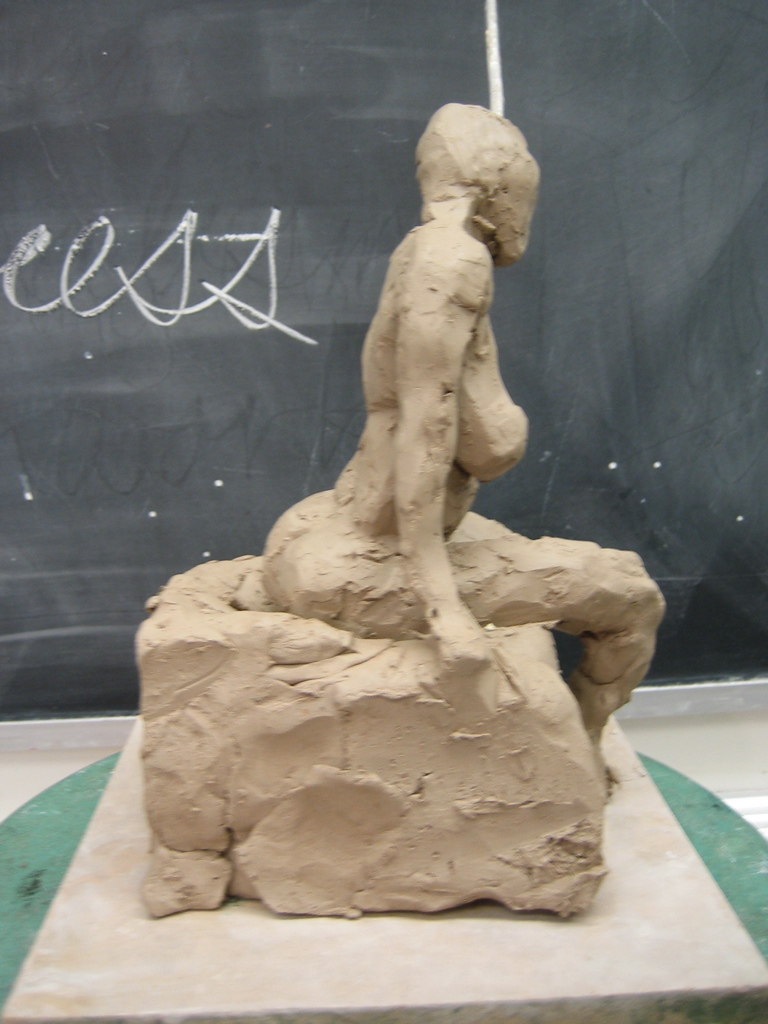
Sculpture: Guay Head

(November 2006)
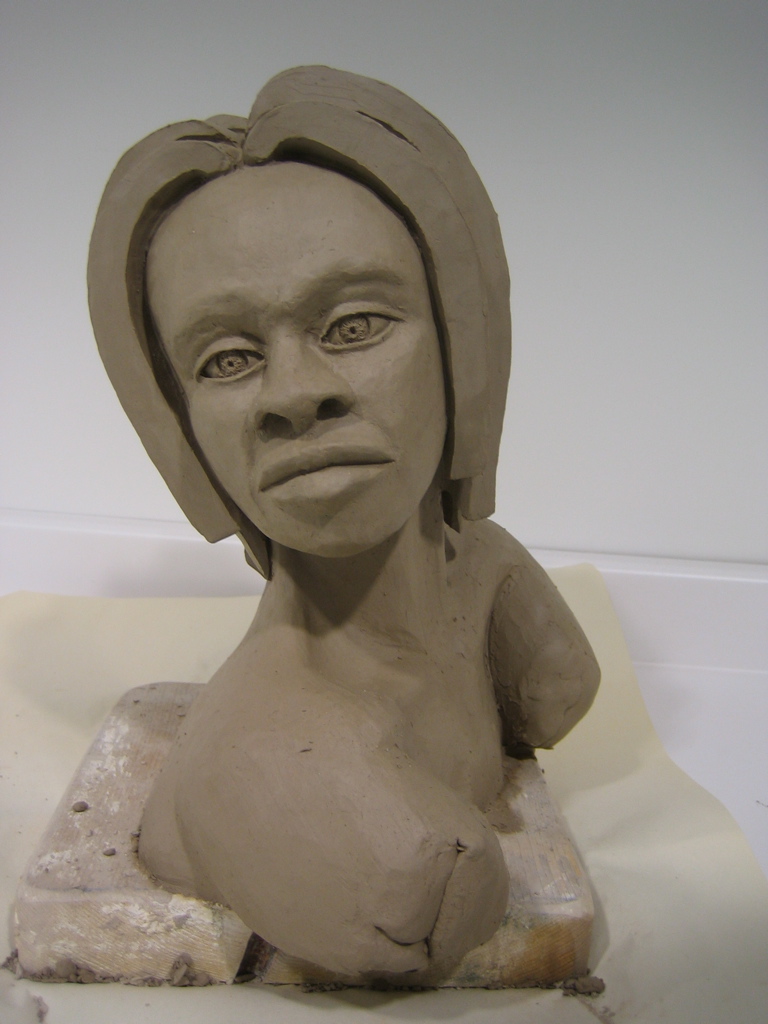
My previous post about Guay was a lead in to this one. Ever since I met Guay I've always wanted to sculpt her head.

When she first came to the class to model she had this wonderful chaotic hair style. The only thing I can think of close to it is Andy Warhol's hair. Short and sticking out all over. It looked awesome. But I was casting at the other end of the class, so I could only think about how cool it would be to sculpt her.

Then the next time she was in she was completely bald. Which was great because it was the first time I could actually see the structure of the scull on a models head. My previous two head sculptures do have some problems with proportion on the back of the head.

Unfortunately the second time she was in I was also working on casting.

Finally this year I get my chance. She had a small tuft of hair above her forehead so she's effectively bald. Ideal for me, but she was the first model of the term, and the teacher likes to do several quick, half class poses for the first two classes, then one full class pose. Three classes being the longest we get with a single model. Not ideal.

I wanted to do this piece so badly though. I haven't work so hard and so fast on something like this in a long time. It was great. I had one three hour class to get as much done as I possibly could. And I was absolutely amazed at how far I got.

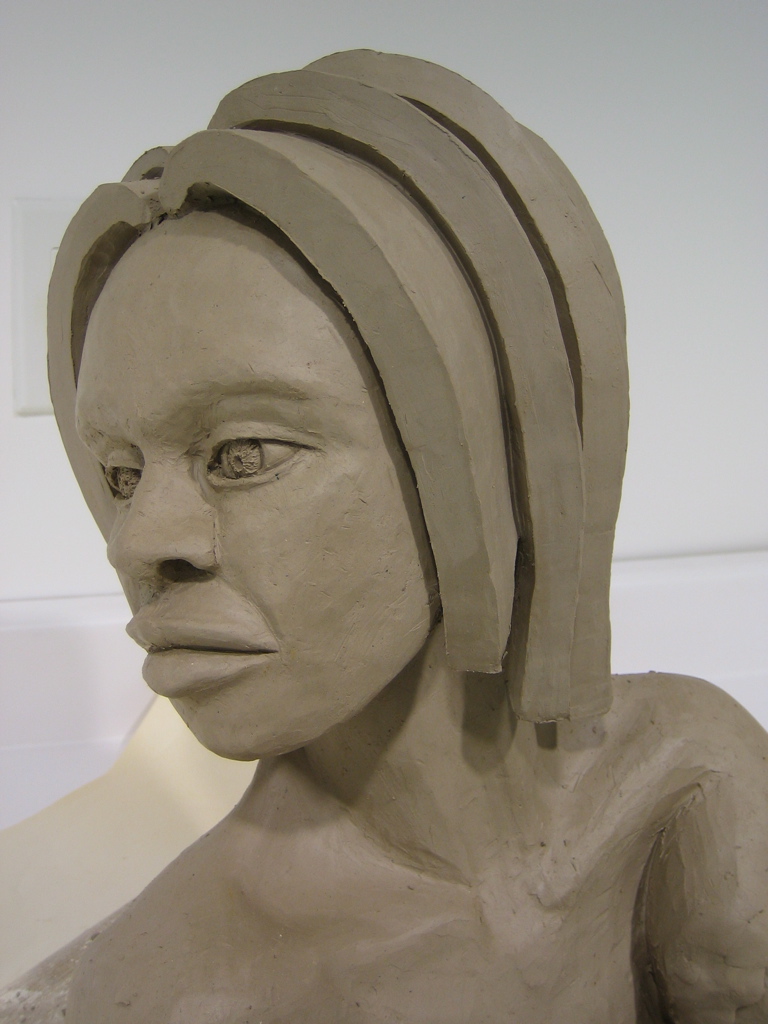
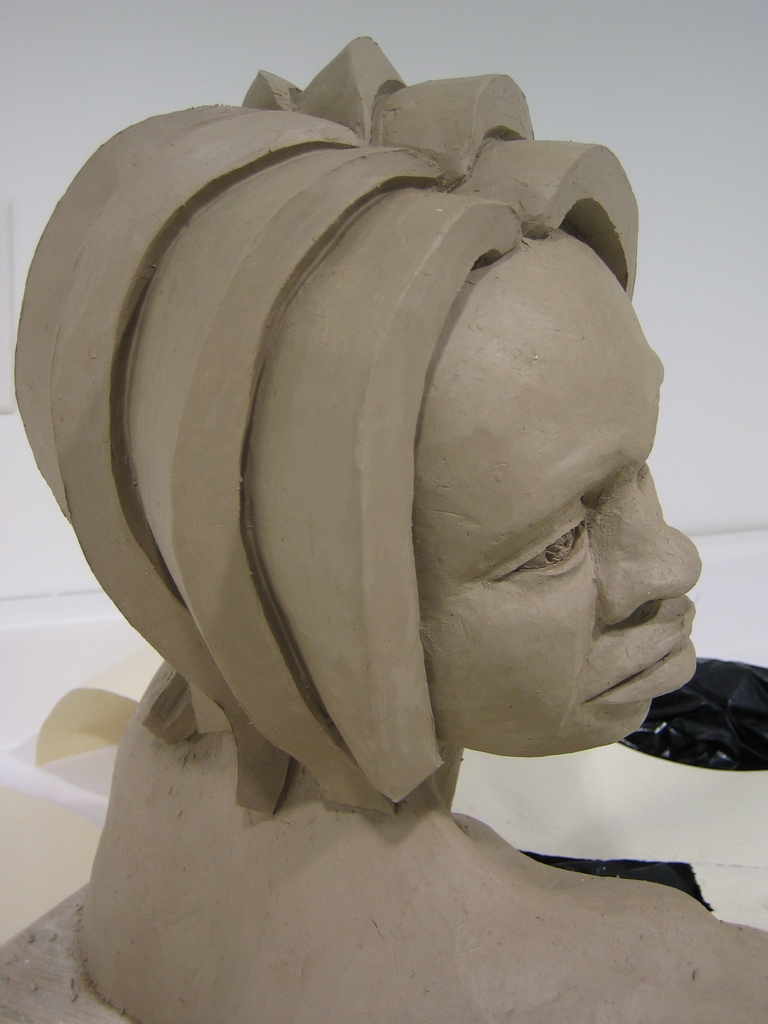
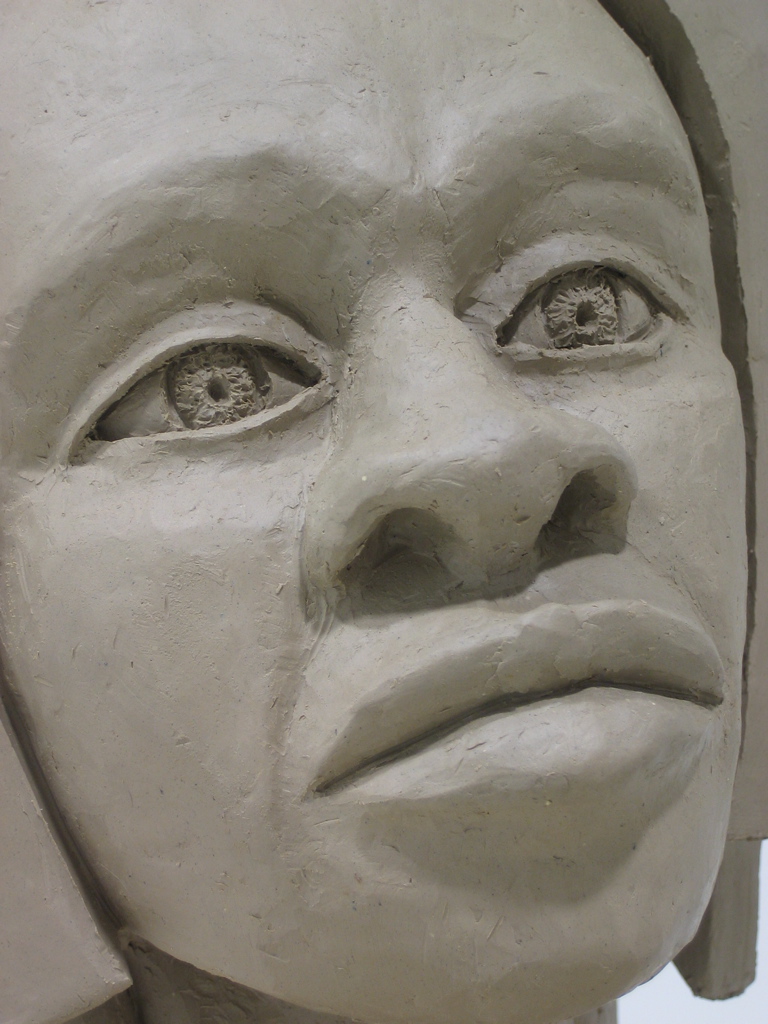
The pictures here are of the piece just before I started casting. I did three weeks of clean up work in class, and I actually brought this one home and worked on it for another 5 hours.

But what I got done in the one class was enough to base all the rest of the work on. Which was great. It showed that I'm getting to a point where I can worked quickly from the model and get enough down to be able to finish it from memory.

But, but you say, the sculpture has hair, and you said she was bald. Yes well, I like to do hair. One of the funnest things is coming up with a hair style.

Although I like this hair very much, it wasn't my first choice. I had a style in mind that was reminiscent of the hair style Guay had the first time I saw her. Unfortunately it was going to be too time consuming to produce. This year I am only able to make the fall session of classes. This means I must get to at least the completed mold stage, or the piece is lost.

Last week I started molding. There are two weeks left. It shouldn't be a problem getting the mold done now. There is some question as to whether I can get the clay out. But that's not a serious problem. It just means it will be very heavy to take home, and I'm going to have quite a mess in my bath.


When will I get it cast? Probably fall 2007. When will it be finished? Probably spring 2008.

Wednesday, November 15, 2006

Sculpture: Guay Seated

(October 2006)
All the models that have posed on the Sculpture class I take are awesome. It's hard work holding the same position for 3 hours and then return a week later and take the exact same pose for another 3 hours.

If all the models are the best, Guay is the best of the best. She is also in high demand so we rarely get here. In fact this is the first time I actually go to sculpt from her. The previous few times she was in I was stuck down at the other end making a mold.

Not only is she curved to fit a beautiful sculpture æsthetic she takes poses that are hard to hold. Usually involving twisting or arching the torso.

In the first two classes of a session we tend to do quick sketches rather then multi week posses. This is a sculpture that I did of Guay in an hour and a half. I'm very please with how much I managed to get done in that short amount of time.

Wednesday, November 01, 2006

Wednesday, July 19, 2006

Sculpture: Torso, Part 2

(September 2005)
So after a clay sculpture is completed it must have a mold cast from it in order to make it in some way permanent. Unlike the Tile where it was made from a firing clay, most of the sculpture work I do is done in clay that is much like what you dig out of the ground. In the sculpture case it comes from a special mine in Kentucky, I think. But that just because it's a consistent quality.

Making the mold, then casting it is a involved process, and not a very artistic process. I'm going to try not to get into too much detail. In the end it's not all that exciting.

In this case the sculpture allowed for a one piece mold. This is the simplest case, and as the name suggest the mold only has one piece. The more complicated the shape, the more pieces you need for the mold.

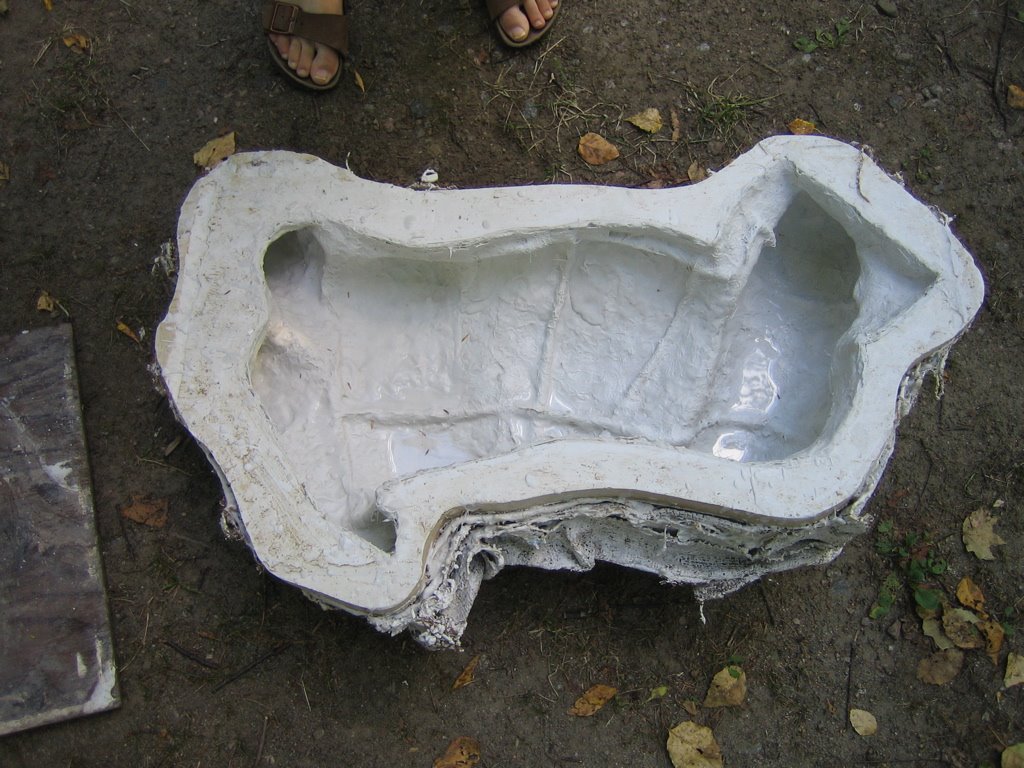
The mold is made from simple plaster. It is layered on for strength, and finally a layer of burlap is applied to hold it all together. Once the mold is completed the final material is poured inside the mold and allowed to harden. In this case the mold is a waste mold, because the mold is destroyed in order to remove the sculpture from it.

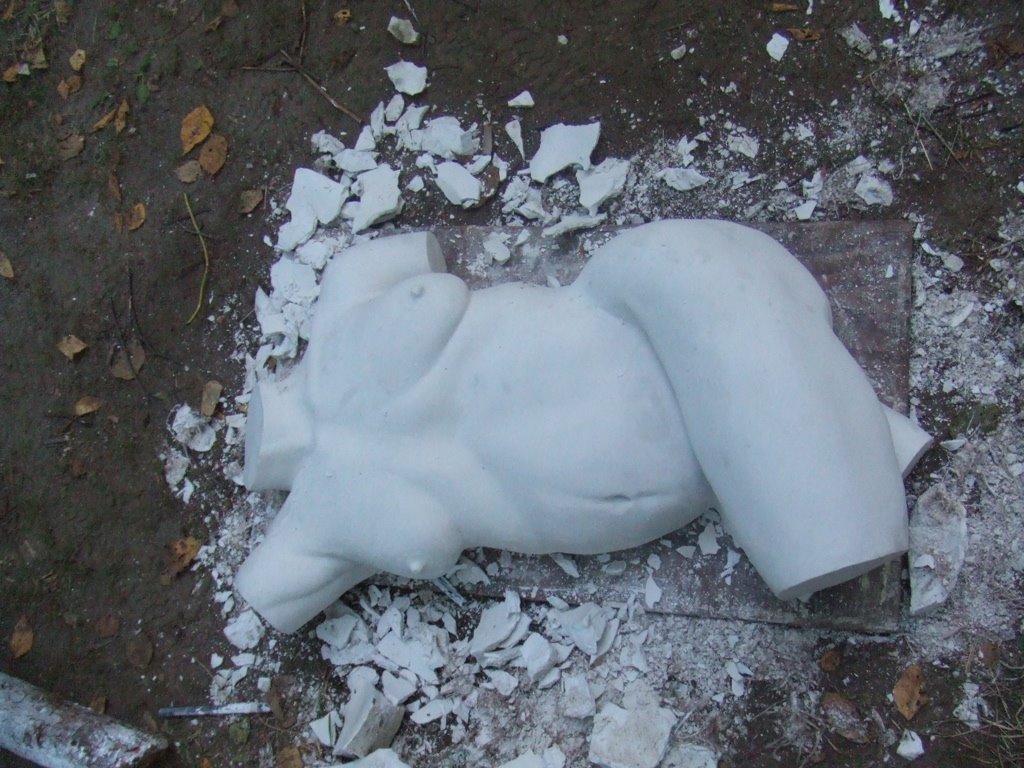
In the picture above the piece has already been cast. Because this mold is so big it would be impossibly heavy to cast it solid. So instead I cast it as a shell. This sculpture is case in Densite, which is a plaster like material but it cures harder. To cast the shell I poured some Densite into the mold, then tipped the mold and allowed the densite to cover all the surfaces. I did this repeatedly until the entire inner surface of the mold was covered to a thickness between .5 and 1 cm thick. Over that I placed a layer of Fiberglas soaked in Densite, and for good measure I added a grid work of wire to hold everything together.

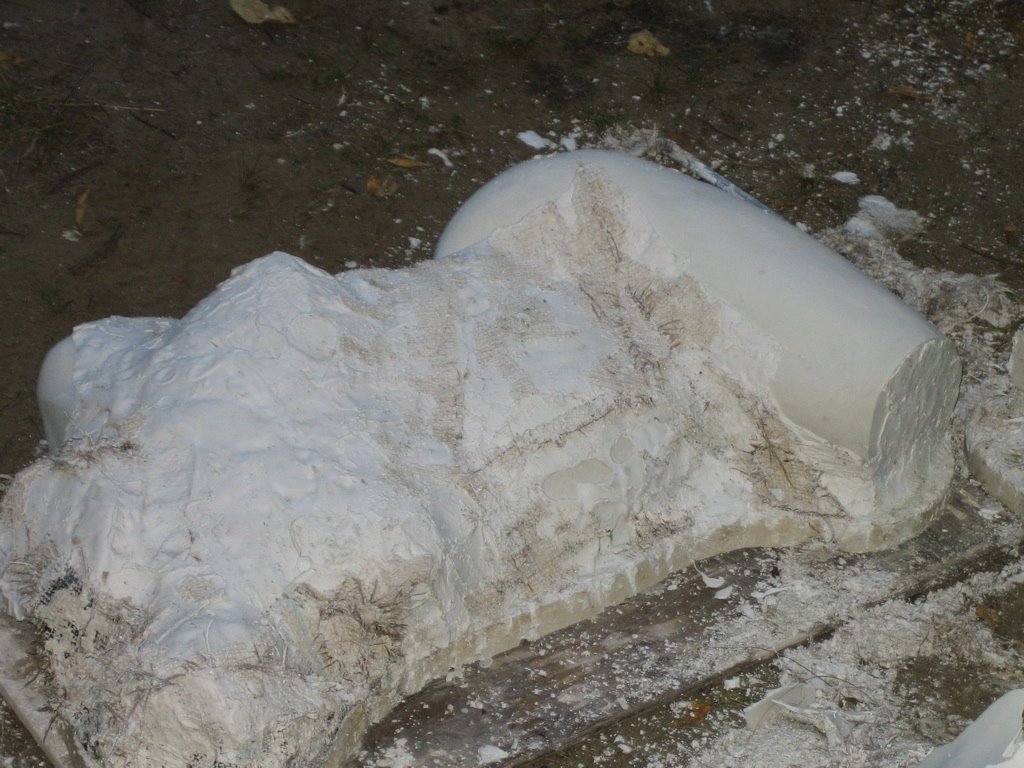
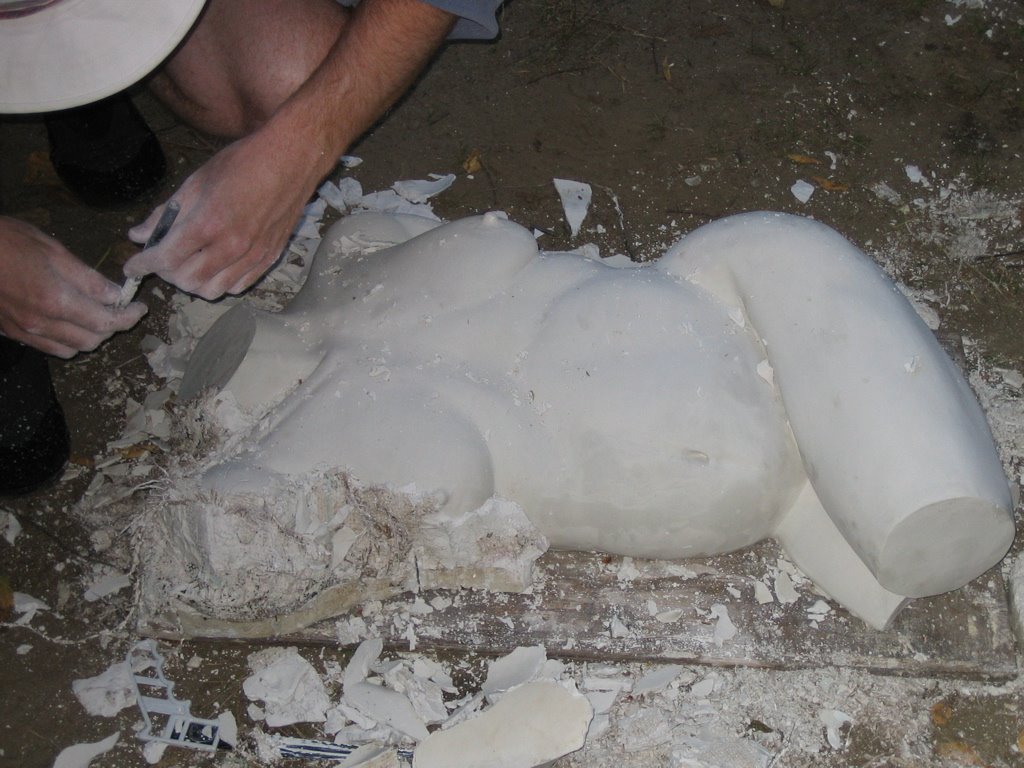
Getting the piece out of the mold is a matter of breaking the mold off the piece. This is done with a wooden hammer and chisel. In this case I was at the cottage and didn't have a wooden hammer, so instead I used a log. The wooden hammer is desirable over metal or rubber because of its rebound properties. It gives a much better feel for what is happening at the chisel blade. Metal hammers give to sharp a strike and rubber is too bouncy.

This mold came off quite easily. Because the sculpture was so smooth in many places large chunks of the mold just fall away after being struck.

This is also a very satisfying part of the process because you get to see the sculpture again for the first time in a long time. In this case about 6 months.

Finishing this piece involves sanding off the mold sheen and other imperfections. I didn't get to that till this summer.

Wednesday, June 28, 2006

Sculpture: Torso

(March 2005)
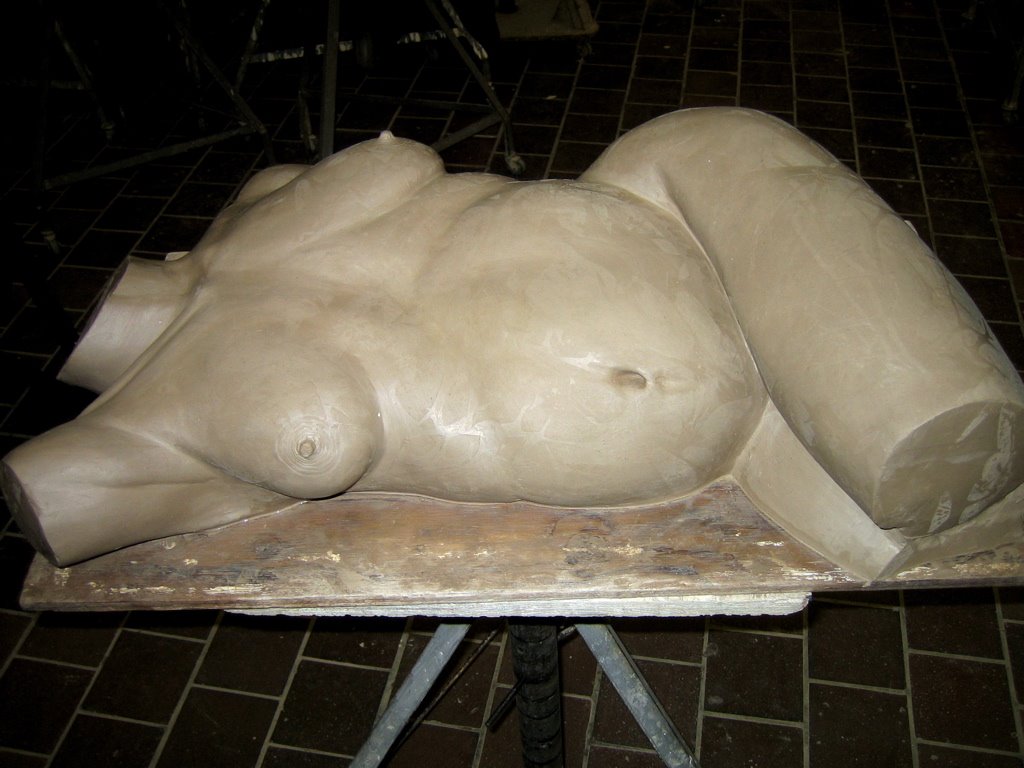
This is the big project. Over the years of taking this coarse there have been several people who have consistently been there. One of them, Gill, always works big. Very big. To heavy to lift big. For a sense of scale his sculptures are topically life size in proportion. By comparison I topically work in a range of 1 to 1.5 feet in length for a full body. This means Gill rarely does the full pose. He usually concentrates on the torso.

I've always admired his work, and decided early in the year I wanted to try doing a pose really big. In the Winter session an opportunity presented itself with a perfect reclining pose. So I grabbed the biggest board I could, a large chunk of Styrofoam to help keep the weight down, a pile of clay, and lots of encouragement from the teacher and tech, and went big.


This sculpture is big, like Gills work. Unlike Gill I tend to be more realistic where he tends to abstract his works. The sculpture is about 80-90 percent life size to the model.

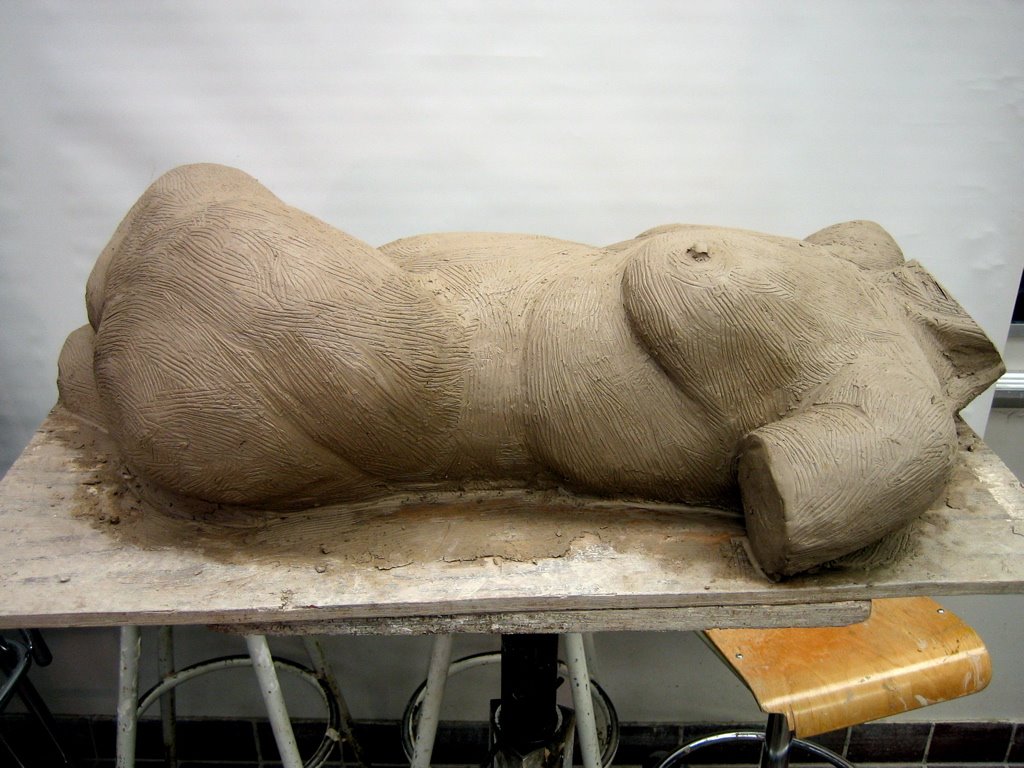
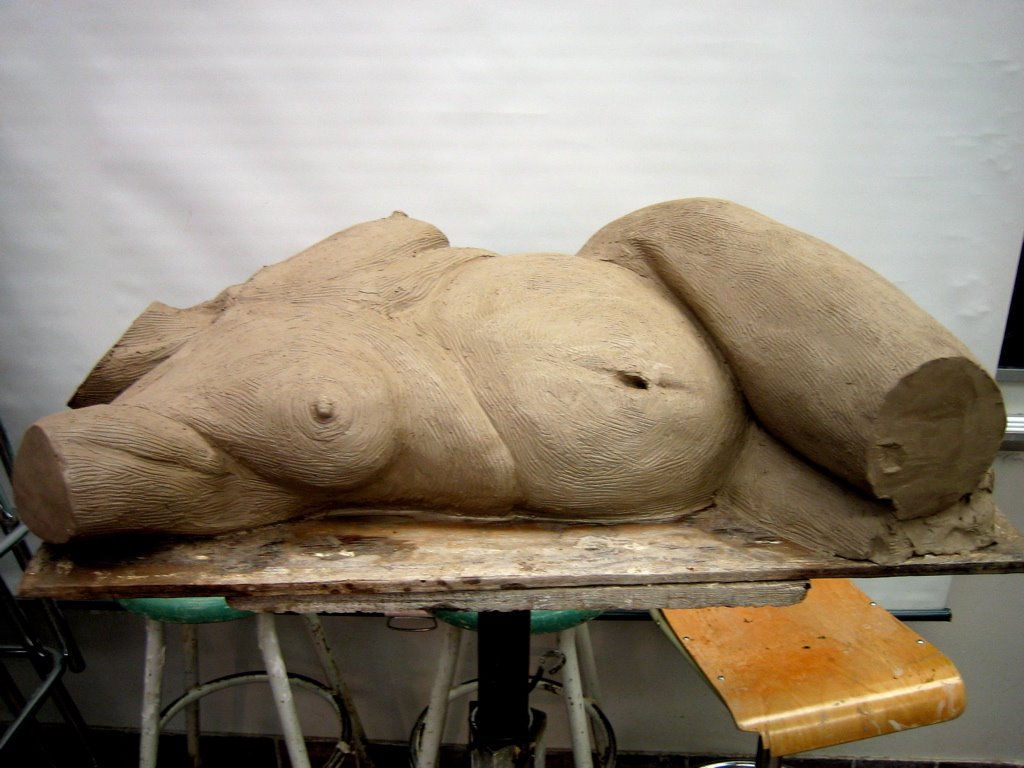
These pictures of the piece are after 3 classes with the model and 1 class of cleaning up. If you look at them in detail you will see the clay is covered in tool marks. This is from me working the surfaces to get the forms just right.

Ultimately I wanted the surfaces to be very smooth. The process of doing this takes a lot of time. It involves working the surface with a fine toothed saw blade and a sponge. Gradually working out all the tool marks and smoothing out the surface. This took another 2 or 3 classes.


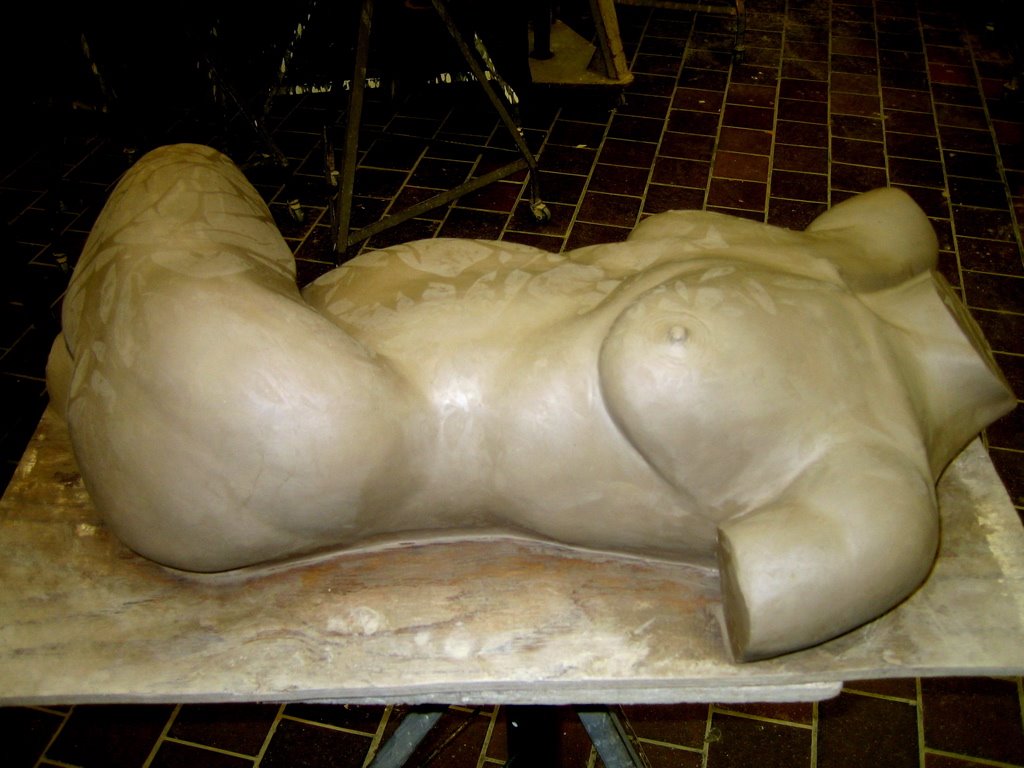
These pictures are of the sculpture at the start of the last class I worked on the sculpture. It is fresh out the garbage bags we use to keep the clay from drying out between classes. The next week I started casting it. Almost all of that last class I spent working on the nipples. If you look closely here the nipples are surrounded by a swirl of tool marks. While this look often works, it doesn't work with when the rest of the sculpture is so realistic.

So that class I spent consulting with the teacher and the model that was posing in a different pose at that point, trying to figure out how to make the nipples look more realistic. I settled on a process of adding tiny bumps around the nipple and blending them in. This was a long and slow process but it yielded much better results then what is pictured above.

The other major difference is the rib cage and the clavicle bones have been toned down. The day school teacher dropped in one day, and I know him well from when he used to teach night school, and made a couple of simple comments. He is like that. You don't get praise from him. You do get excellent pointed criticism. Which is exactly the kind of thing you need when learning. He simply pointed out how harsh the lines of the ribs and clavicle were compared to the softness of the rest of the piece. He then left it to me to do what, if anything, I wanted to address it. This is the kind of thing you need when working on something of this nature. You're so close to it it's hard to see it as a whole. Once he mentioned it, I could see exactly what he was saying. So I took steps to soften these lines, and I think it helped a lot.

The next step in this piece is casting it. Unusually I have pictures of some of that process. However I will wait for another post to continue the description.

Friday, June 09, 2006

Sculpture: High Fired

(March 2006)
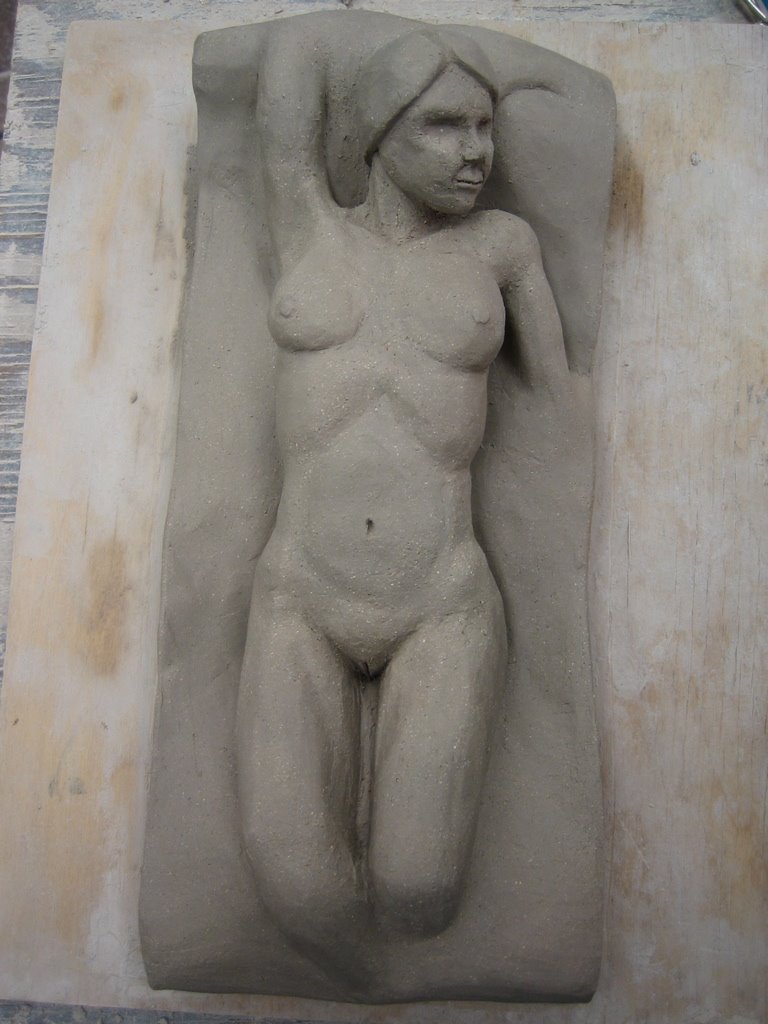
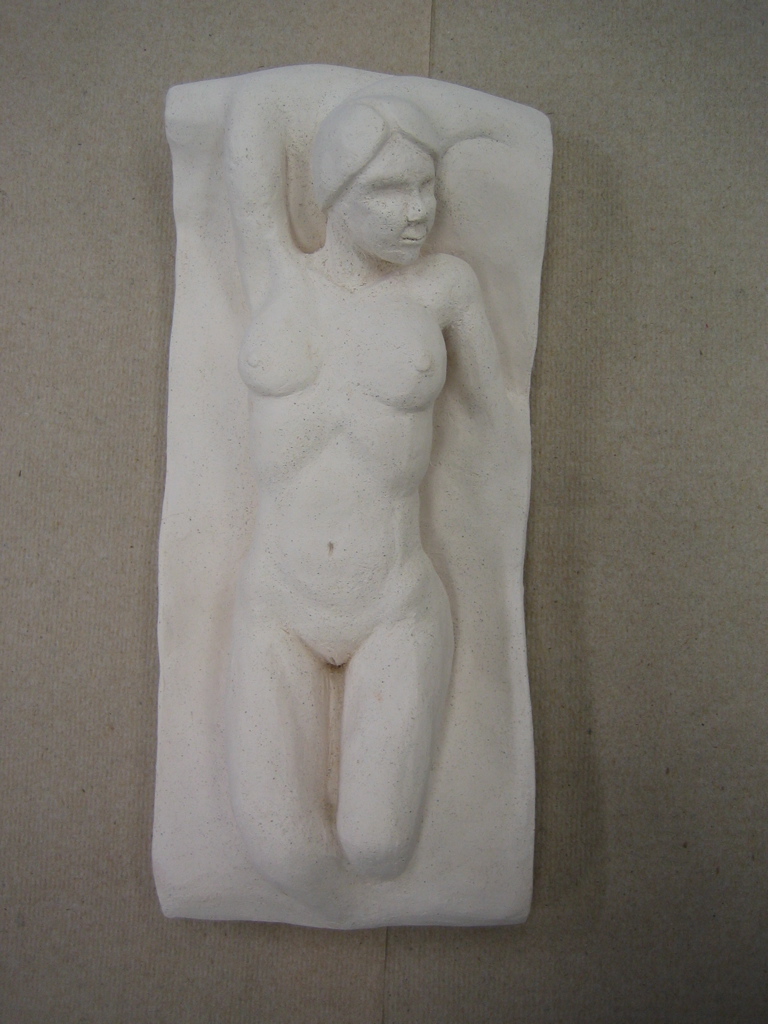
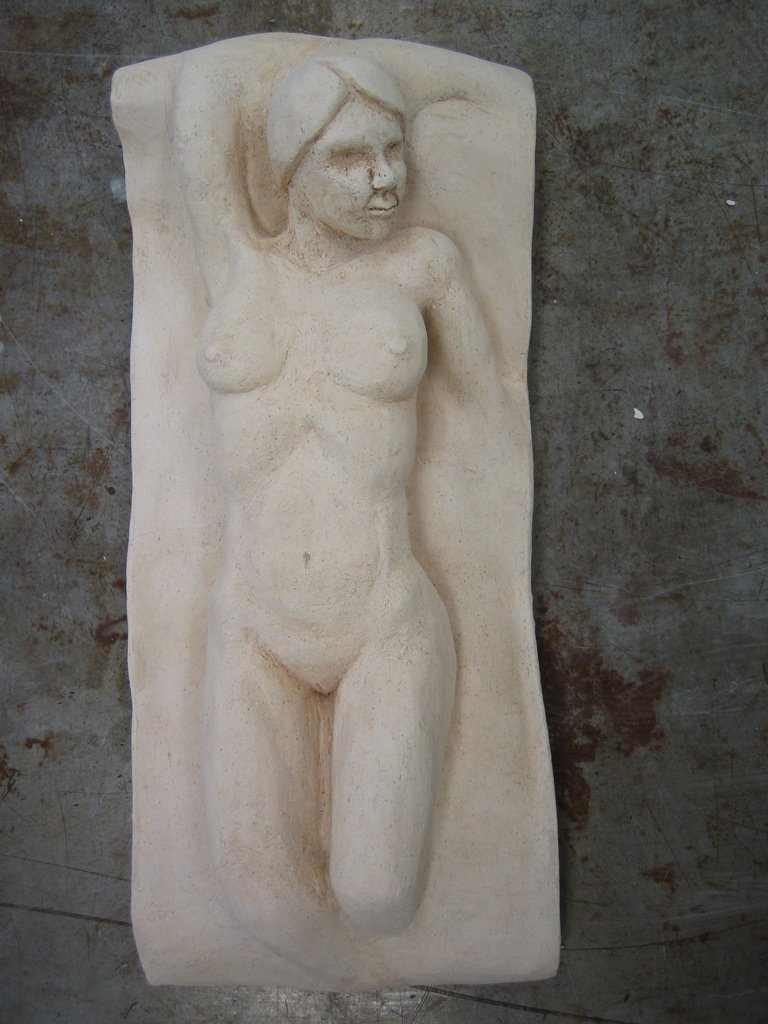
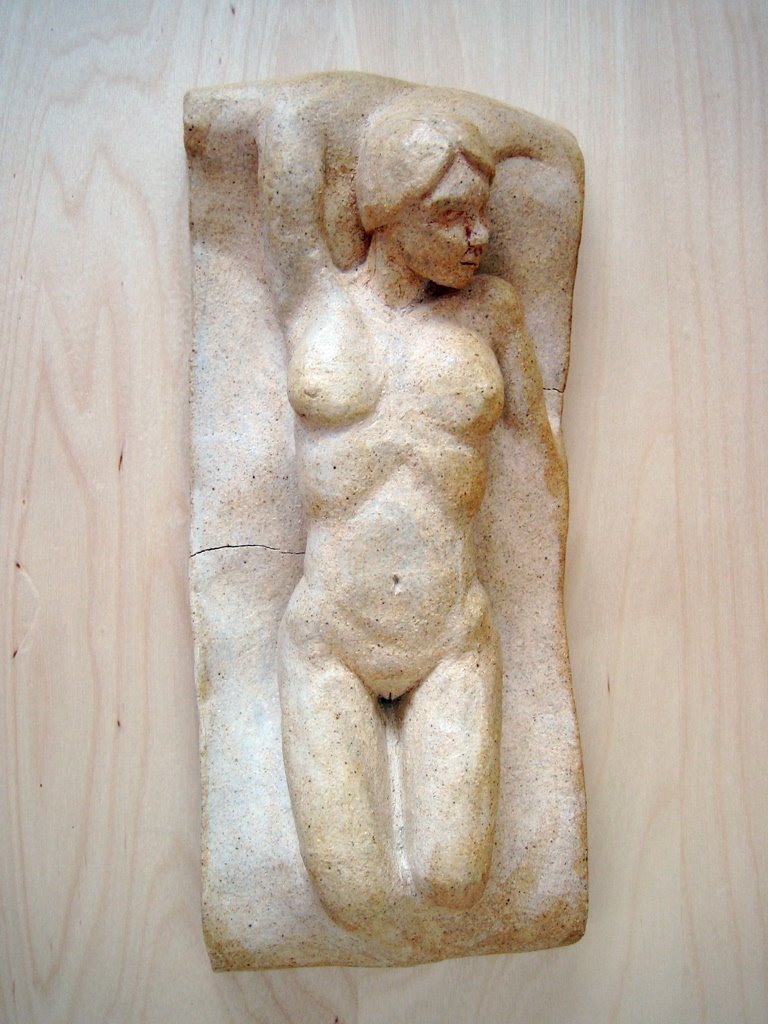
Back to a sculpture from this year. I've posted this one earlier in it's clay form and bisque fired form. Now here it is after it's been high fired.


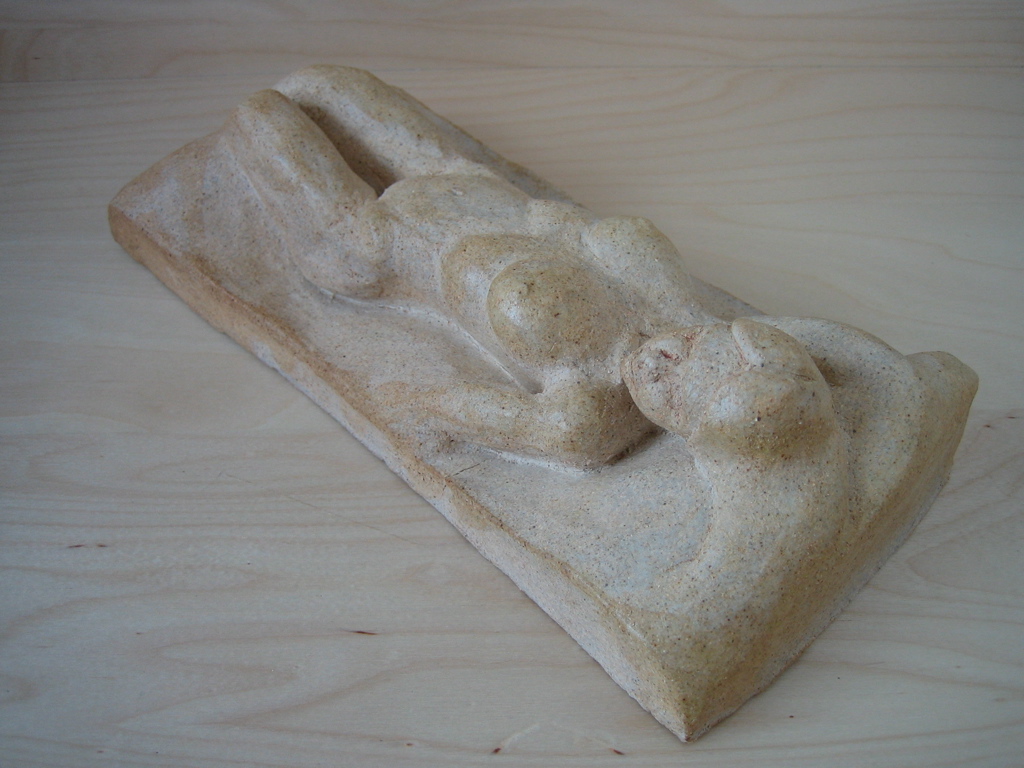
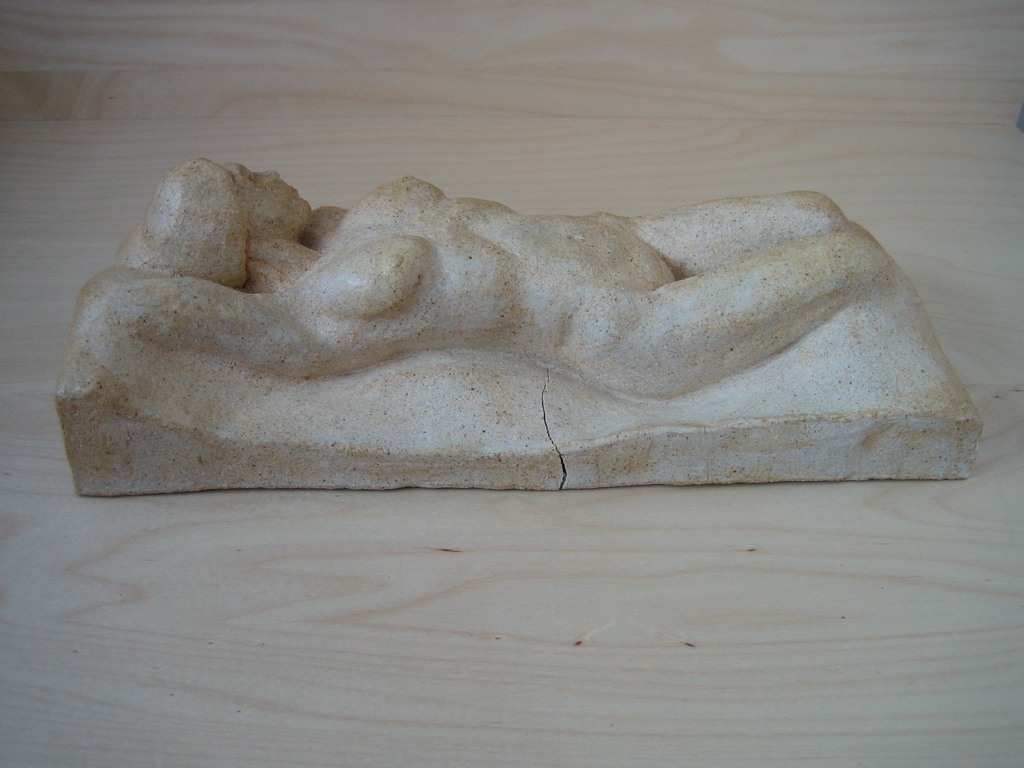
High firing is as the name suggest done at a much higher temperature. A special kiln is used for high firing. One of the things that happens in high firing is metals within the kiln will vaporize and condense on the pieces. Particularly iron oxides. This gives the pieces a warm glow after the firing. The clay also takes on more of a stone look then the very white crisp look after bisque firing. In this case I washed the piece in an oxide called rutile. This enhanced the natural oxide effect of high firing.

One other thing that occurred during high firing is two cracks formed. This was no surprising, I could see them forming in the bisque fired stage. They also correspond to places where I tried to join to blobs of clay after the clay had dried a little to much to be worked.

The cracks aren't serious, and don't pose a risk of propagating across the piece. They will make it a little weaker if dropped, but I'm not planning to do that intensionally.

Here are the four stages, clay, bisque fired, rutile applied and high fired.